


How to Clean Disc Filters
In industrial filtration, the longevity and efficiency of stainless steel components are primary drivers of operational cost-effectiveness. Whether utilized in chemical processing, polymer extrusion, or hydraulic systems, stainless steel filter discs and multi-layered packs are designed for durability. However, the accumulation of contaminants—ranging from fine particulates to viscous resins—inevitably leads to increased differential pressure. Understanding how to clean disc filters correctly is essential for maintaining process integrity and extending the service life of these precision-engineered components.
This guide provides a technical overview of the cleaning methodologies, validation steps, and engineering considerations necessary to restore the performance of industrial filter discs.
Understanding the Importance of Disc Filter Maintenance
Industrial filtration systems rely on a stable pressure differential to ensure consistent flow rates and filtration accuracy. As contaminants lodge within the wire mesh or sintered metal structure, the effective open area decreases. This results in a "pressure spike," which, if left unaddressed, can lead to media migration, bypass, or mechanical deformation of the filter element.
Cleaning is not merely a cost-saving measure; it is a maintenance strategy that ensures the repeatability of a process. For high-performance Filter Discs & Packs, the ability to undergo multiple cleaning cycles without losing structural integrity is a significant advantage over disposable synthetic media. However, the success of the cleaning process depends heavily on matching the cleaning method to both the contaminant type and the filter material (typically 304, 316, or 316L stainless steel).
Assessing Filter Condition: Cleanable vs. Disposable
Before initiating a cleaning protocol, engineers must determine if the filter disc is suitable for reclamation. While stainless steel filters are inherently robust, certain conditions may render them non-cleanable:
1. Mechanical Damage: Any signs of pleat collapse, mesh tearing, or separation at the spot welds or bound edges indicate that the disc must be replaced.
2. Permanent Fouling: In some chemical applications, contaminants may undergo a phase change (such as carbonization or polymerization) within the pore structure that cannot be dissolved or dislodged without damaging the metal.
3. Fatigue Limits: Stainless steel mesh has a finite number of pressure cycles it can withstand. If a filter has reached its predicted fatigue life, cleaning may result in immediate failure upon re-installation.
If the filter is structurally sound but blinded by particulates, the following methods for how to clean disc filters should be evaluated based on the specific application requirements.
Primary Methods for Cleaning Stainless Steel Filter Discs
There is no universal cleaning solution for industrial filters. The choice of method depends on the chemical nature of the filtrate and the physical structure of the filter disc.
1. Ultrasonic Cleaning
Ultrasonic cleaning is widely considered the most effective method for precision wire mesh and sintered metal filters. This process involves placing the filter discs in a tank filled with a cleaning solvent or aqueous solution. High-frequency sound waves create microscopic vacuum bubbles (cavitation). When these bubbles implode against the surface and within the internal pores of the mesh, they generate high-energy shockwaves that dislodge deeply embedded contaminants.
* Advantages: Reaches internal geometries that manual cleaning cannot; highly effective for fine micron ratings.
* Considerations: Frequency selection is critical; frequencies that are too low may cause erosion of very fine wires.
2. Chemical Cleaning (Acid/Alkali Bath)
Chemical cleaning involves submerging the filter discs in specialized solutions to dissolve organic or inorganic deposits. This is common in the food and beverage and chemical industries.
* Caustic Soaks: Typically 10-20% Sodium Hydroxide (NaOH) at elevated temperatures, used to break down organic matter, fats, and proteins.
* Acid Pickling/Passivation: Dilute Nitric Acid (HNO3) or Citric Acid is used to remove scale, mineral deposits, and to restore the protective oxide layer on the stainless steel surface.
* Solvent Cleaning: Used for removing oils, greases, and non-polar polymers.
3. Thermal Cleaning (Burn-off)
In applications involving heavy polymers or resins (such as plastic extrusion), thermal cleaning is used to pyrolyze the organic material. The filter discs are placed in a vacuum furnace or a fluidized bed at controlled temperatures. The organic material is converted to ash, which is then removed via ultrasonic cleaning.
* Risk: Excessive heat can alter the metallurgical properties of the stainless steel (e.g., causing sensitization or grain growth), potentially reducing corrosion resistance.
4. High-Pressure Water Jetting
For large-scale filter packs with surface-loading contaminants, high-pressure water (hydro-blasting) can be used. This is generally reserved for coarser mesh sizes where the physical impact of the water will not distort the wire geometry.
Step-by-Step Guide on How to Clean Disc Filters
To achieve consistent results, maintenance teams should follow a standardized workflow. Below is a generalized procedure for cleaning industrial stainless steel Filter Discs & Packs.
Step 1: Pre-Cleaning Inspection and Documentation
Record the initial weight and the pressure drop observed before removal. This data serves as a baseline to measure the effectiveness of the cleaning cycle. Perform a visual inspection for any obvious mechanical defects.
Step 2: Pre-Rinse
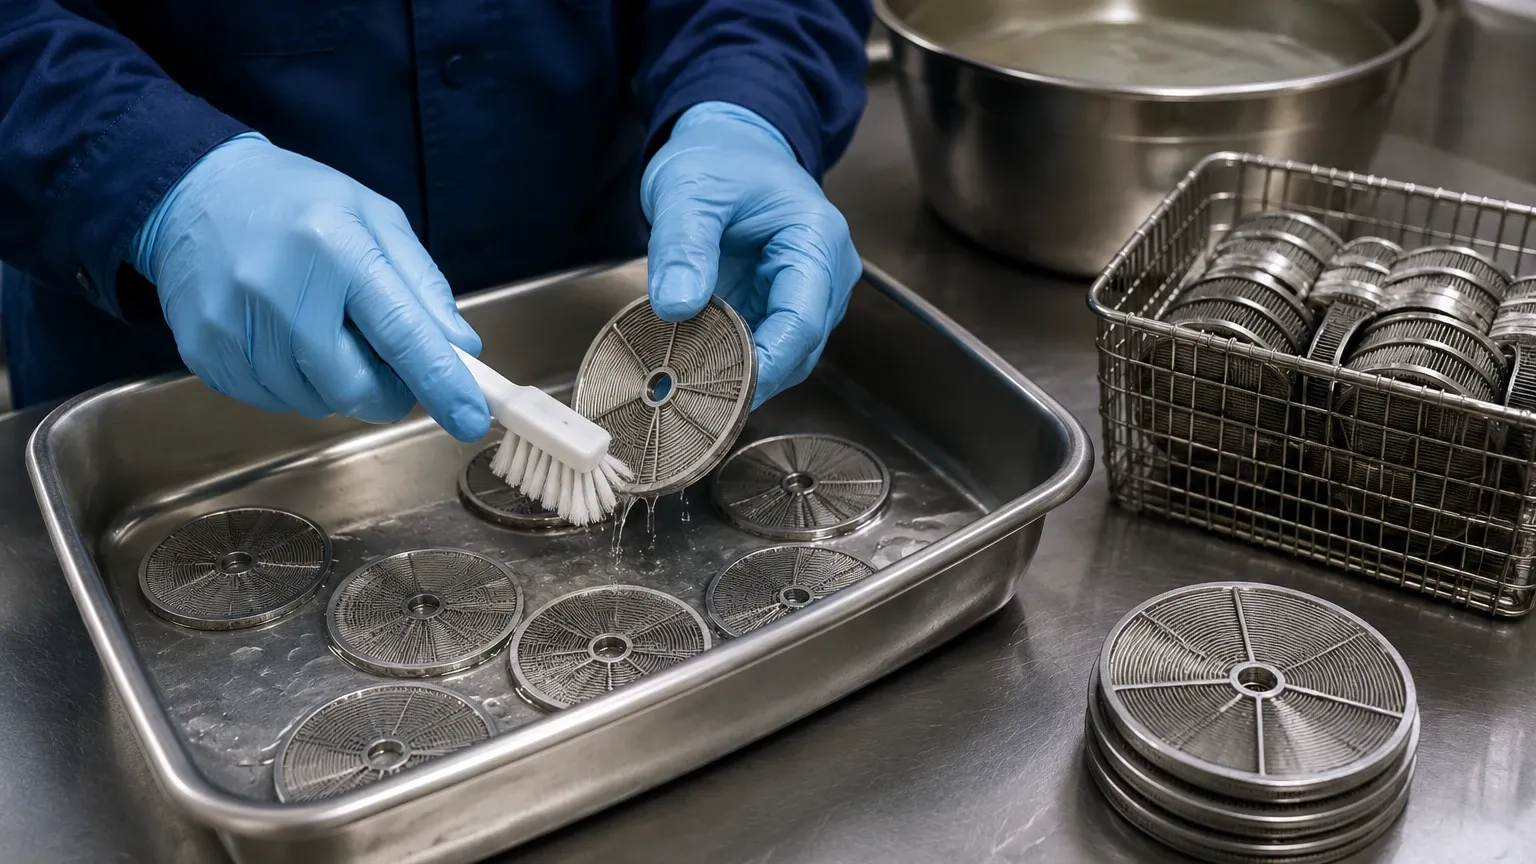
Remove loose surface debris using low-pressure water or compressed air (if safe for the specific contaminant). This prevents the cleaning tanks from becoming prematurely saturated with heavy solids.
Step 3: Primary Cleaning (Chemical or Thermal)
Depending on the contaminant, submerge the discs in the appropriate chemical bath or place them in a thermal cleaning unit. If using chemicals, ensure the temperature and concentration are monitored according to the manufacturer’s specifications. For multi-layered packs, ensure the solution can penetrate the internal layers.
Step 4: Ultrasonic Treatment
After the chemical or thermal treatment has loosened the contaminants, place the discs in an ultrasonic tank. For complex sintered structures, it may be necessary to rotate the discs or use a multi-frequency system to ensure all pores are cleared.
Step 5: Final Rinse and Neutralization
If chemicals were used, the discs must be thoroughly rinsed with deionized or distilled water to remove all traces of the cleaning agent. If an acid was used, a neutralization step may be required to prevent localized corrosion during drying.
Step 6: Drying
Dry the filters in a clean, dust-free environment. Using a forced-air oven at moderate temperatures (60°C to 100°C) is recommended to ensure moisture is removed from the internal mesh layers, preventing biological growth or flash rusting in lower-grade alloys.
Validating Cleaning Effectiveness and Integrity Testing
Cleaning is only successful if the filter's performance is restored without compromising its integrity. Engineers should employ the following validation techniques:
Bubble Point Test
This is a non-destructive test used to verify the integrity of the filter and its pore size. The disc is submerged in a fluid (like isopropyl alcohol), and air pressure is gradually increased. The pressure at which the first continuous stream of bubbles appears is the "bubble point," which correlates to the largest pore size. If the bubble point is significantly lower than the original specification, the mesh has been damaged or enlarged during cleaning.
Weight Verification
Comparing the post-cleaning weight to the original "clean weight" of the disc provides a quick indication of how much residual contaminant remains trapped within the media.
Flow Testing (Differential Pressure Test)
In a controlled lab environment, passing a clean fluid through the disc at a set flow rate and measuring the pressure drop is the most direct way to confirm that the filter has been restored to its original hydraulic capacity.
Common Risks and Maintenance Best Practices
When learning how to clean disc filters, it is important to avoid common pitfalls that lead to premature component failure:
* Avoid Abrasive Scrubbing: Using wire brushes or abrasive pads can scratch the surface of the stainless steel wires, creating sites for accelerated corrosion or snagging fibers in future cycles.
* Chemical Compatibility: Ensure that cleaning agents do not react with the gaskets, seals, or the specific grade of stainless steel. For instance, high concentrations of chlorides can cause pitting corrosion in 304 stainless steel.
* Cross-Contamination: Use dedicated cleaning tanks for different processes. Residual chemicals from a previous cleaning cycle can contaminate the next batch of filters, leading to process deviations.
* Handling Precautions: Precision filter discs, especially those with fine micron ratings, are delicate. Always handle them by the edges or frames to avoid oil transfer from hands or physical deformation of the mesh.
When to Replace Rather Than Clean
Despite the best cleaning efforts, every filter disc has a finite service life. Replacement is necessary when:
1. The pressure drop after cleaning remains 20-30% higher than the original "new" pressure drop.
2. The bubble point test indicates a failure in pore size consistency.
3. The filter shows signs of "blinding" that cannot be removed by ultrasonic or chemical means.
4. The cost of cleaning and validation exceeds 50-70% of the cost of a new replacement unit.
For organizations looking to optimize their filtration processes, selecting high-quality Filter Discs & Packs designed for cleanability is the first step. By implementing a rigorous cleaning and validation protocol, industrial facilities can maximize their return on investment while maintaining the highest standards of product purity and system safety.
